
How to Run Android Apps On Windows 10 And 11
Running Android Apps on Windows has become increasingly popular due to the wide availability and diversity of apps on the Android platform. While Android is primarily designed for mobile devices, there are various methods and tools available that allow you to run Android apps on your Windows computer. Are You an Android user who wishes to enjoy your favourite apps on a windows PC? Good news! With just a few easy steps, you can unlock the power of Android and run your cherished apps seamlessly on Windows 10 and 11. In this article, we will guide you through the process, making it user-friendly and hassle-free. Let’s get started!
Table of Contents
Methods to Run Android Apps on Windows:
1. Android Emulators:
Android emulators are software applications that create a virtual Android environment on your Windows computer. They mimics the Android operating system, allowing you to install and run Android apps directly on your PC or laptop. Popular Androids emulators include BlueStacks, NoxPlayer, and Genymotion.

2. Windows Subsystem for Android (WSA):
Microsoft has introduced the Windows Subsystem for Andoid, which integrates the Android subsystem directly into Windows 11. With WSA, you can install and run Android apps from the Microsoft Store or sideload APKs onto your Windows device.
3. Cross-Platform Development Tools:
Some cross-platform development tools, such as Xamarin and Flutter, allow developers to write code once and deploy it across multiple platforms, including Windows and Android. As a result, apps developed using these tools can be easily run on both Windows and Android devices.

Run Android Apps on Windows Using Emulators:
In this article, we will only discuss the first and easy method to install mobile apps in Windows i.e Using Emulators. As discussed earlier, an emulator is a software that mimics the Android environment on your PC. Below are few steps you can follow to run Android Apps on Windows.
1: Choose the Right Android Emulator
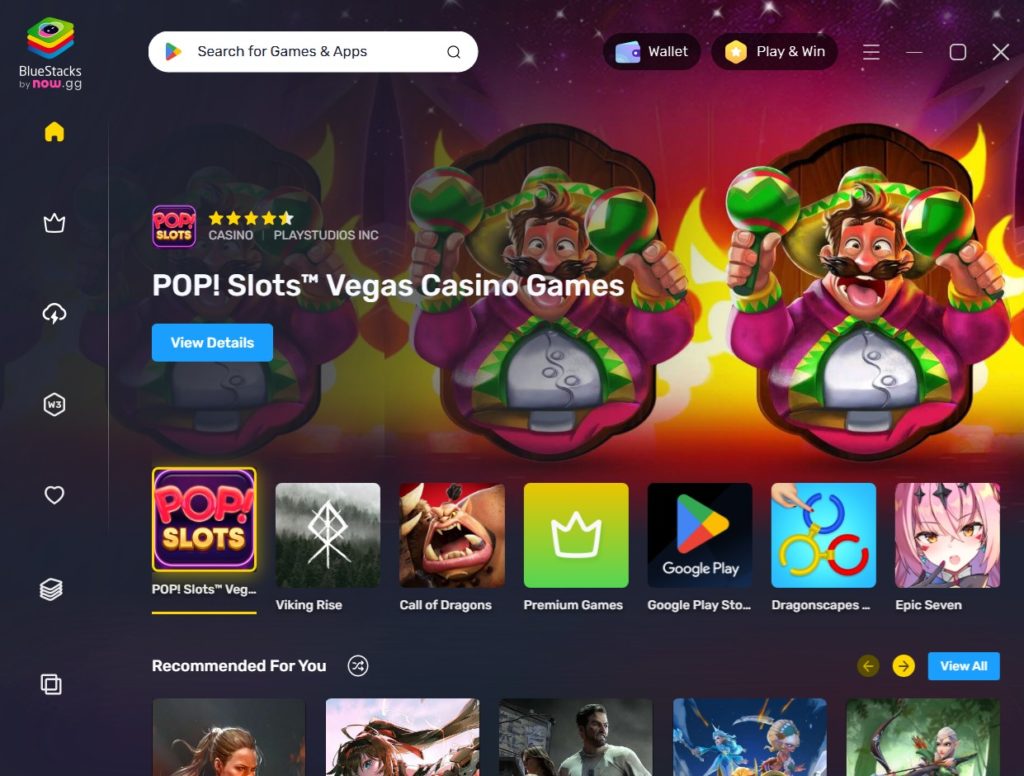
To run Android apps on Windows, you need an Android emulator. There are several options available, but some popular choices include BlueStacks, NoxPlayer, and LDPlayer. Pick the emulator that suits your requirements and download it from their official website. I personally recommend you to download BlueStack.

How to Download BlueStacks:
To download Bluestacks, you can follow these steps:
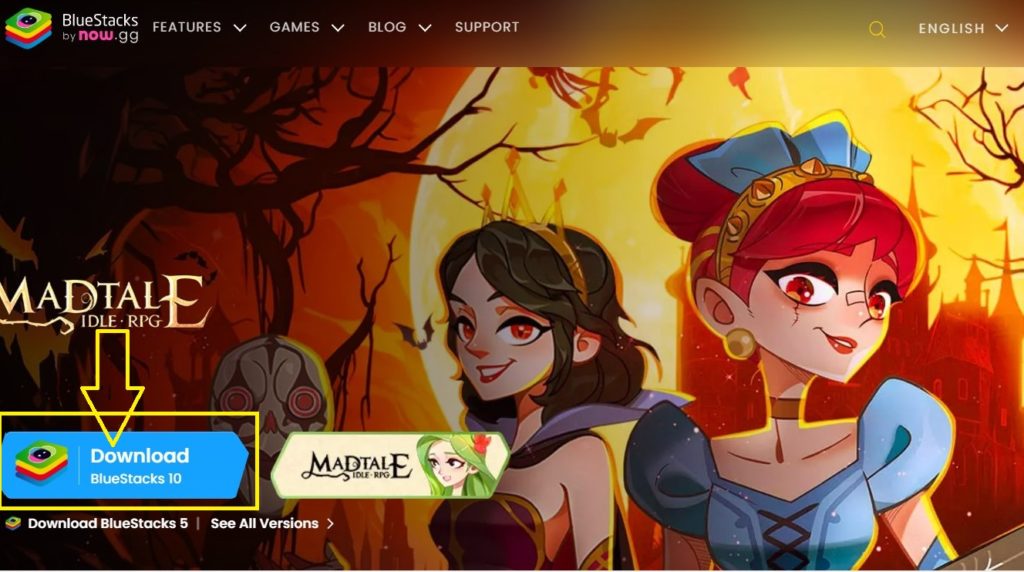
- Visit the official BlueStacks website:
Go to the BlueStacks website at https://www.bluestacks.com/ . - Navigate to the Download page:
Once you are on the BlueStacks official website, click on the “Download BlueStacks” button or go to the Downloads section of the website. - Choose the appropriate version:
BlueStacks offers both Windows and Mac version. Click on the “Download” button for the version that you want to install. - Start the Download:
After clicking on the download button, the BlueStacks will begin downloading. The file size is typically around 500 MB, so it may take time depending on your internet speed.
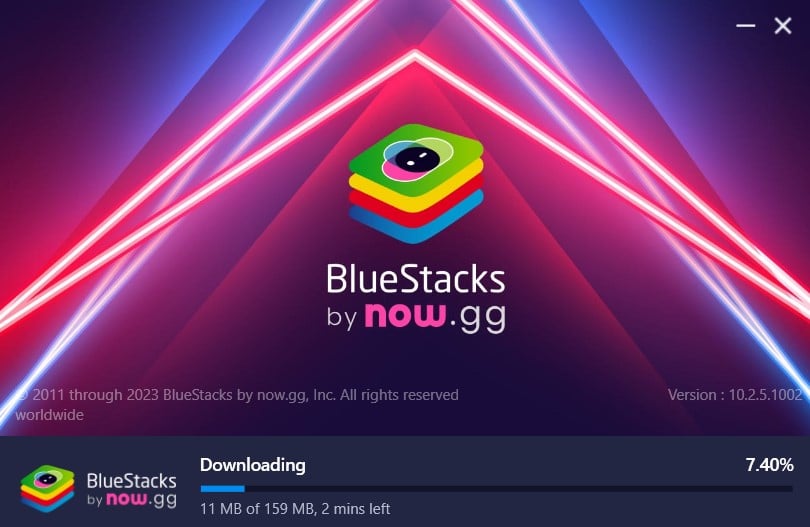
2: Install the Android Emulator
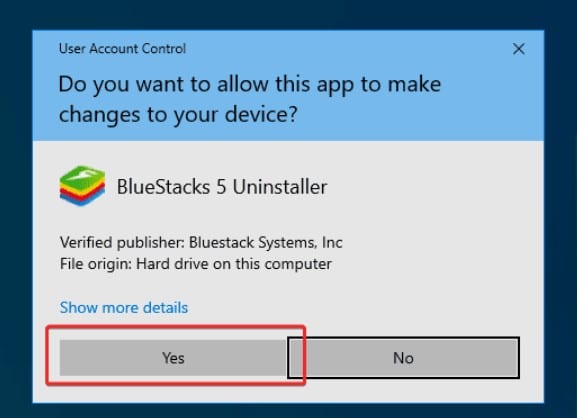
Once the download is complete, locate the downloaded installer file (usually in your Downloads Folder) and double click on it to run the installation process. Allow the installer to make changes. When prompted by the User Account Control (UAC) on Windows, click “Yes” to allow the installer to run the installation process.

3: Set Up the Emulator
After the installation, launch the emulator. You’ll be greeted with an Android-like interface. Similar to the setting up a new Android device, you will need to sign in with your Google account or create a new one. This step is necessary to access the Google Play Store and download Android apps.
4: Download and Install Android Apps
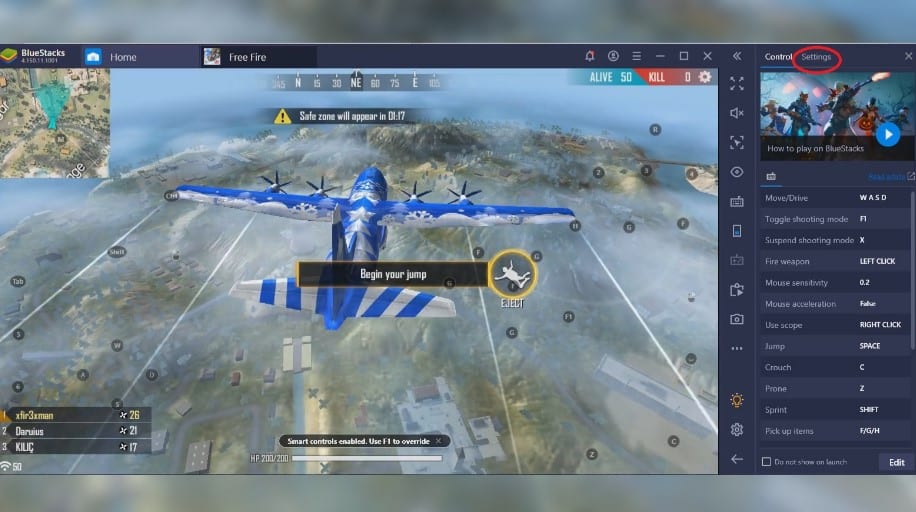
Now that your emulator is set up on your windows, you can browse the Google Play Store, just like you would do on an Android Mobile Phones or Tablets. Search for your desired apps, click on them. Select the “Install” button. The apps will be downloadedand installed within the emulator.
5: Launch and Enjoy Android Apps on Windows
Congratulations! You are all set to enjoy Android apps on your Windows PC. Simply locate the installed app within the emulator’s interface. Click on it to launch. The app will run smoothly on your Windows 10 or 11 system, allowing you to enjoy all its features and functionalities.
Benifits of Running Android Apps on Windows:
Access to Wide Range of Apps:
Android has a broad ecosystem of apps, including productivity tools, social media platforms, games, and the list goes on. Running Android apps on Windows enables you to access and use these apps directly on your computer, expanding your software options.
Enhanced Productivity:
Many popular productivity apps are available on the Android platform. By running them on your Windows computer, you can take advantage of the larger screen, keyboard, and mouse, enhancing your productivity and efficiency.
Gaming Experience:
Android offers a diverse selection of games, including both casual and high-end titles. Running Android games on Windows allows you to enjoy these games on a larger screen with better hardware capabilities, providing a more immersive gaming experience.
Integration with Windows Environment:
Running Android apps on Windows bridges the gap between the Android and Windows ecosystems. It allows you to integrate Android apps with your existing Windows workflows, file management, and notifications, making it easier to switch between devices and platforms.
Last Words
By following these five simple steps, you can easily run your favourite Android apps on Windows 10 and 11. The Android emulator acts as a bridge between the Android and Windows environments, enabling a seamless app experience. So, go ahead and unlock the power of Android on your PC, and immerse yourself in the world of Android apps while using Windows!